Travel Photography
There are many benefits to using your phone to take photos while traveling. First of all, you won’t have extra equipment to pack; chances are, you’re already bringing your phone. It’s always with you during the day, and thanks to excellent technology, your phone probably comes packed with features better than or at least equal to those on your point-and-shoot camera. Your phone is portable, and with the right case, it can be waterproof and dust-proof, which is crucial for some travel spots.
You don’t have to be a photography expert to take great travel photos with your phone, but it does help to keep some basic photography techniques in mind. If you don’t remember anything else, remember that a great travel photo tells a story, showcases a subject (whether it’s an object or person), and captures a moment in time. To achieve these goals, follow these basic photography rules.
Rule of Thirds
Turn on your camera’s grid feature, which will show you a nine-square grid overlaying your framed shot. Use this grid to frame your subject proportionally. Place your primary subject in the middle three squares of your grid, or try an off-centred subject for an eye-catching effect.
Positioning the Sun
Sunshine is lovely, but when you take a photo directly into the sun, your photo will be washed out, and you’ll lose the detail of your subject(s). Especially when you’re taking photos of other people, place the sun at your back. Yes, your subjects will be tempted to squint as they’ll be looking into the sun, so suggest they close their eyes, count to three, and then open them for the photo!
Pay Attention to Exposure
Many people don’t realize that they can adjust the lighting of a shot with one touch on a phone. Tap and press on the subject of your photo to make sure the shot is properly exposed before taking it. You’ll see the lighting adjust on your screen.
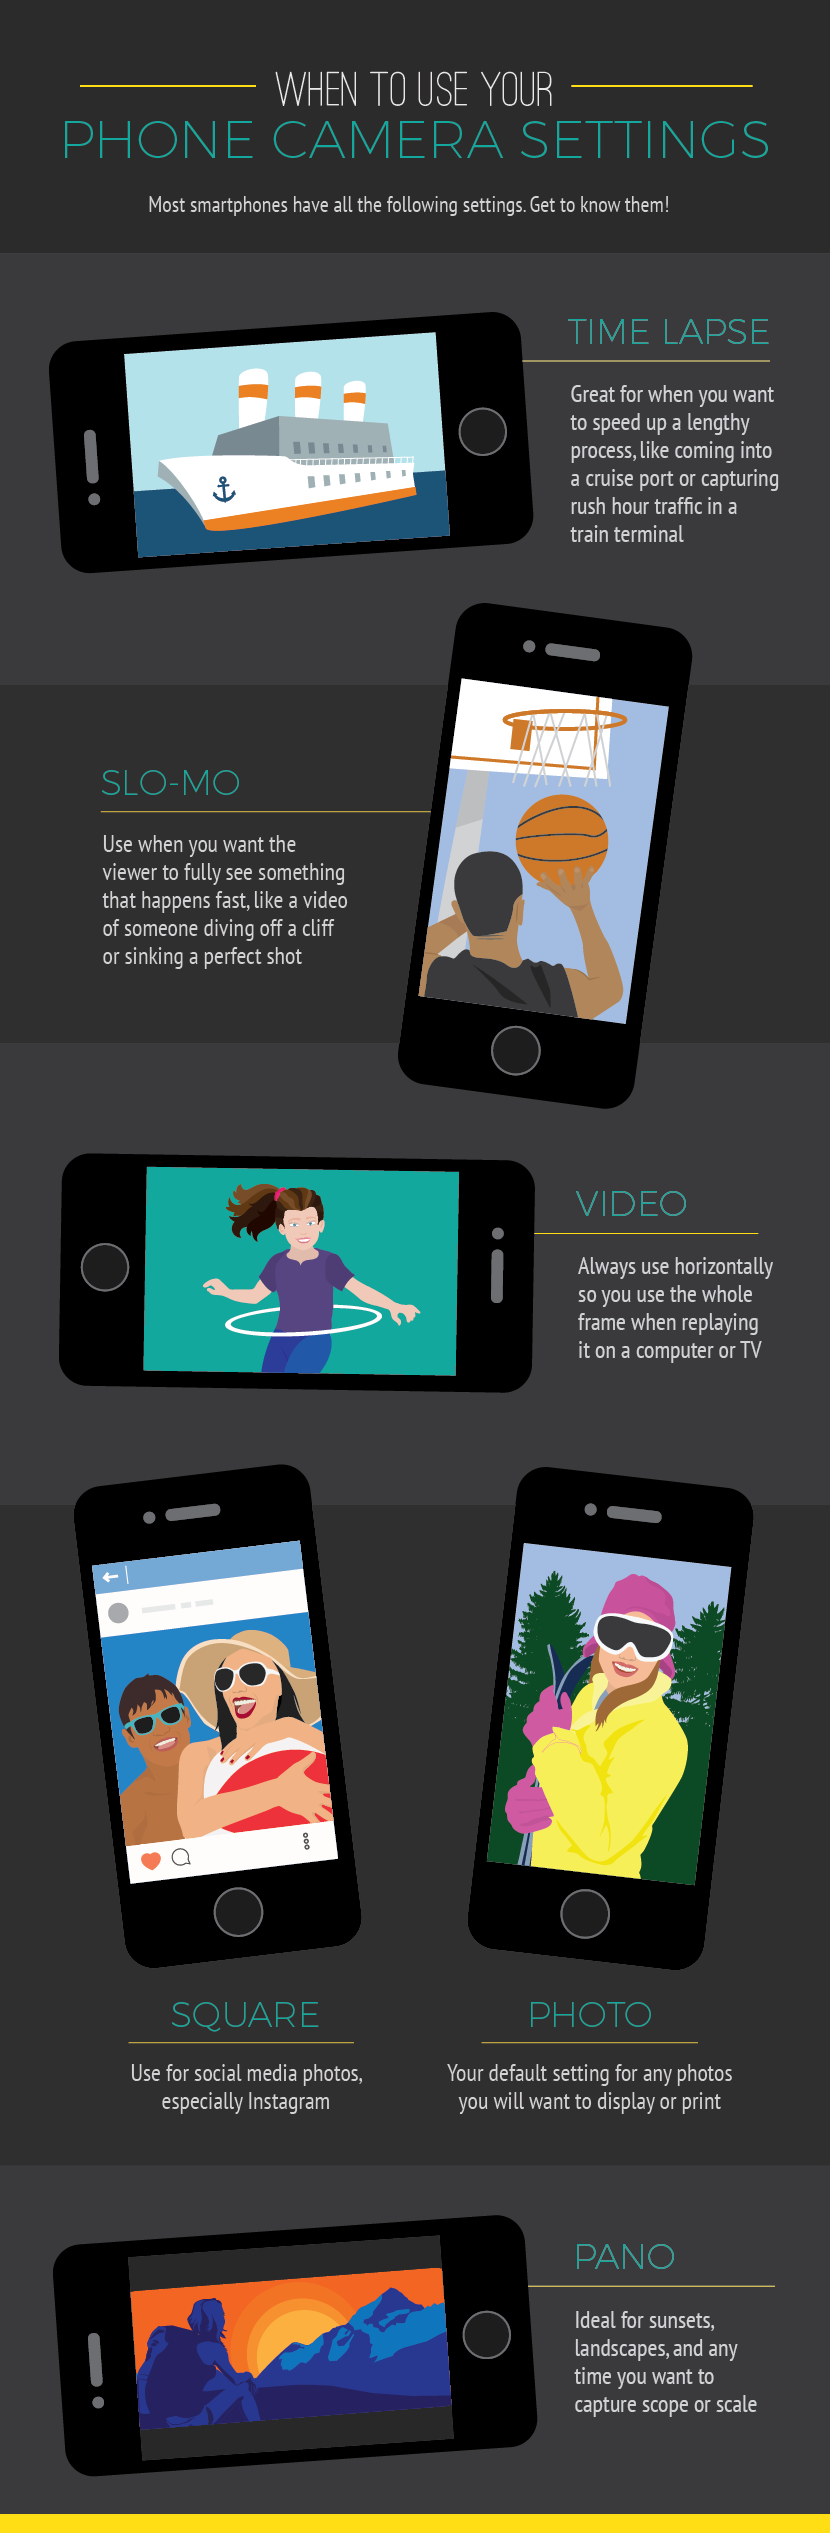
Go Horizontal
Most of the time, you should get in the habit of taking horizontal photos. Video should always be horizontal, not vertical. Why? Horizontal videos use the most screen space when you show your work on a computer or TV screen. Vertical videos will appear as just one strip of the screen.
Know Your Flash Settings
Placing your flash on auto will work most of the time, but in low light, indoors, and in fully dark settings, play with your flash to get your desired result. If you’re taking a selfie in the dark, such as in a nightclub or at a concert, turn on a flashlight app if you don’t have a front-facing flash (which can be the case with older phones).
Now that you know how to use your settings, it’s time to make your travel photos more interesting. Remember how every travel photo should tell a story, focus on a subject, and capture a point in time? It’s easy to do that with your phone on any vacation, whether it’s a bucket list-worthy trip or a road trip to grandma’s.
Start by getting new angles. Your phone is mobile, so make yourself mobile too! Get down on the ground to take a shot from below your subject, or get elevated to get an overhead angle. Notice the shot everyone around you is taking, and do something different. If everyone is taking a long-range photo of a mountain, focus your shot on the trail leading up to it or the trees in the foreground, for instance.
When you’re taking photos of people, shots of smiling groups are nice, but they’re nothing remarkable. Focus on emotion instead. Try to capture a laugh, an expression of joy or surprise, or a look of wonder on the faces of your subjects. The best way to do this is to have your phone ready to shoot as your friends and family discover new experiences or see a new sight.
Last, to use your phone camera to its fullest, don’t forget to try your high dynamic range (HDR) setting. This setting can feel intimidating to those who rely on auto settings on their cameras, but it can greatly enhance your travel photos. Your HDR setting will help you properly expose your photo much better than simply pressing a finger on the screen to adjust the lighting. This is because doing so only adjusts the subject, and it can over- or underexpose the background. In your HDR setting, your phone is essentially taking three photos for every one and then layering them for ideal lighting. However, this means it takes longer to take the shot, so you need to hold the camera still.
To make sure your HDR setting is being used to the fullest, use a tripod or brace your elbows on a ledge or table when shooting. Your subjects need to hold still as well. For this reason, I only turn off HDR when I’m shooting wildlife that will not cooperate or when I cannot hold the camera steady (such as when I’m on in a moving boat).
No matter which settings you use and how many of the rules of photography you remember, the most important thing when taking travel photos with your phone is to take them! Have your phone at the ready and take lots of shots!
 This has been a guest blog post with thanks to Ereplacementparts.com
